Plotting Made Simple
Sessions List
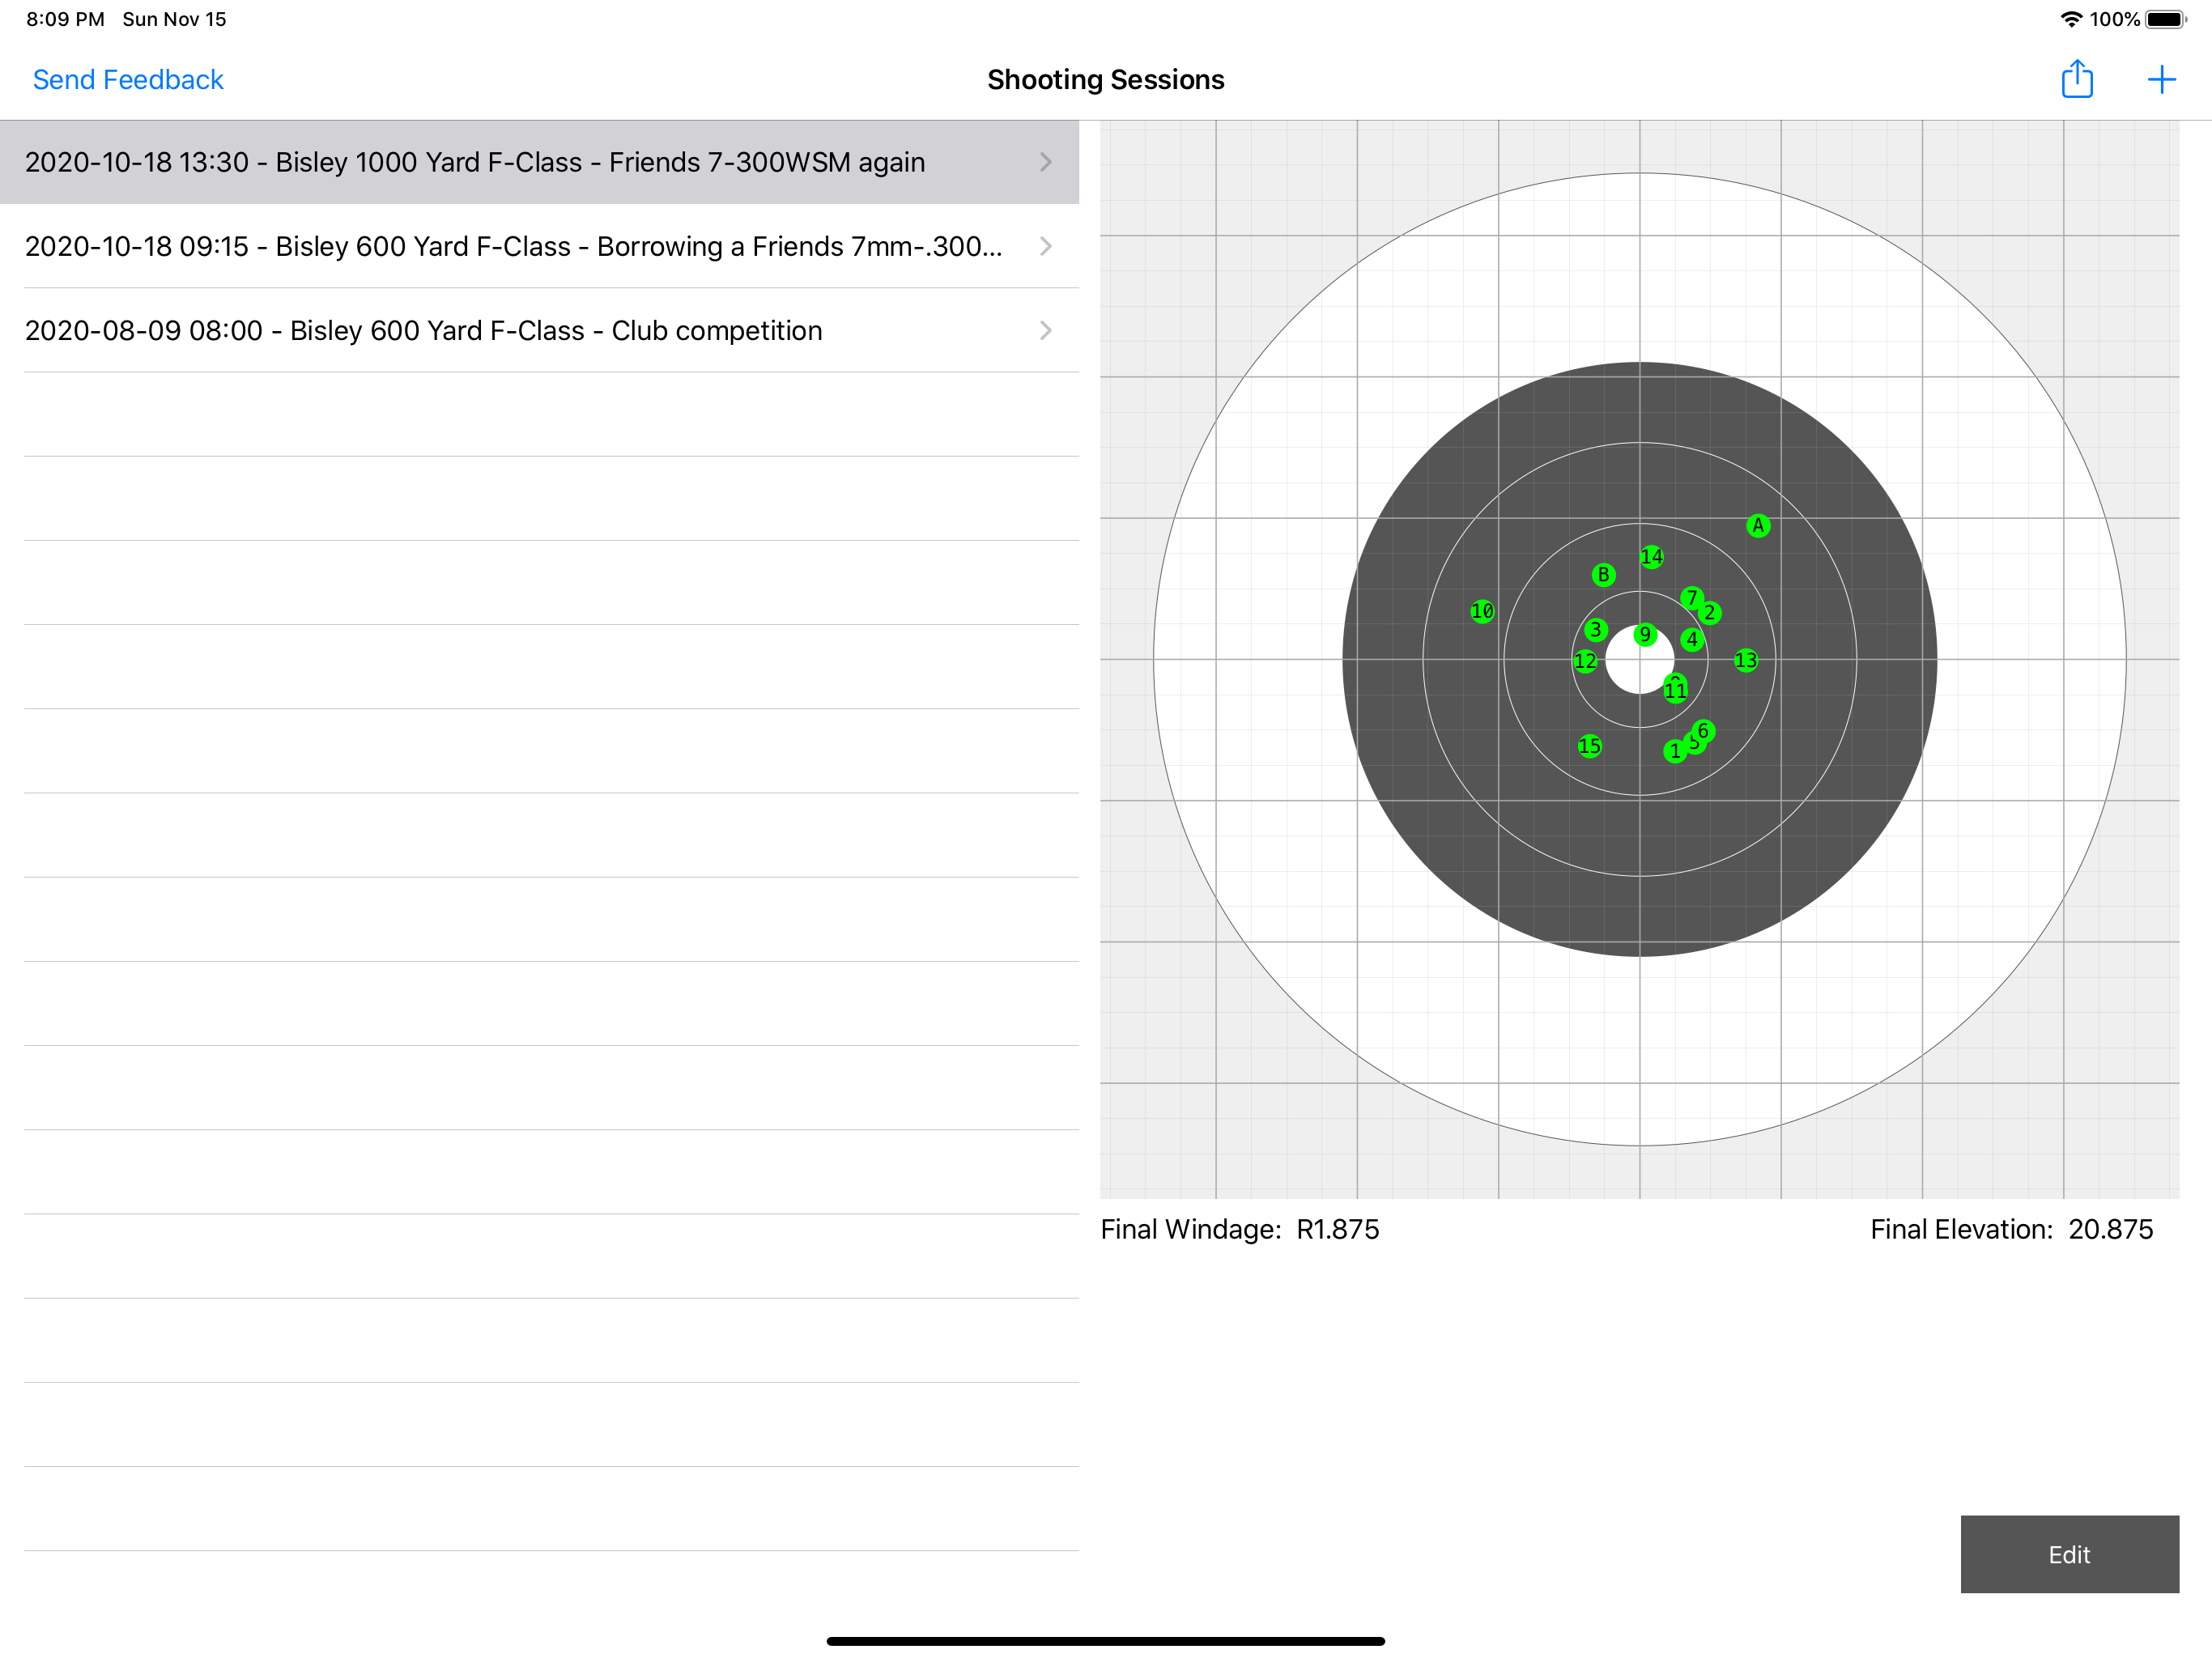
The first screen you see in the application. Table on left will display your previous sessions along with date, target type, and your short description entered on the session info screen.
Tapping '+' in the top right will create a new session.
Selecting an existing session in the list will let you see additional details on the right and edit the session with the button in the bottom right.
The 'share' button (top right next to '+' button) allows you to export the data for all saved sessions
Handy Tips:
Session Info
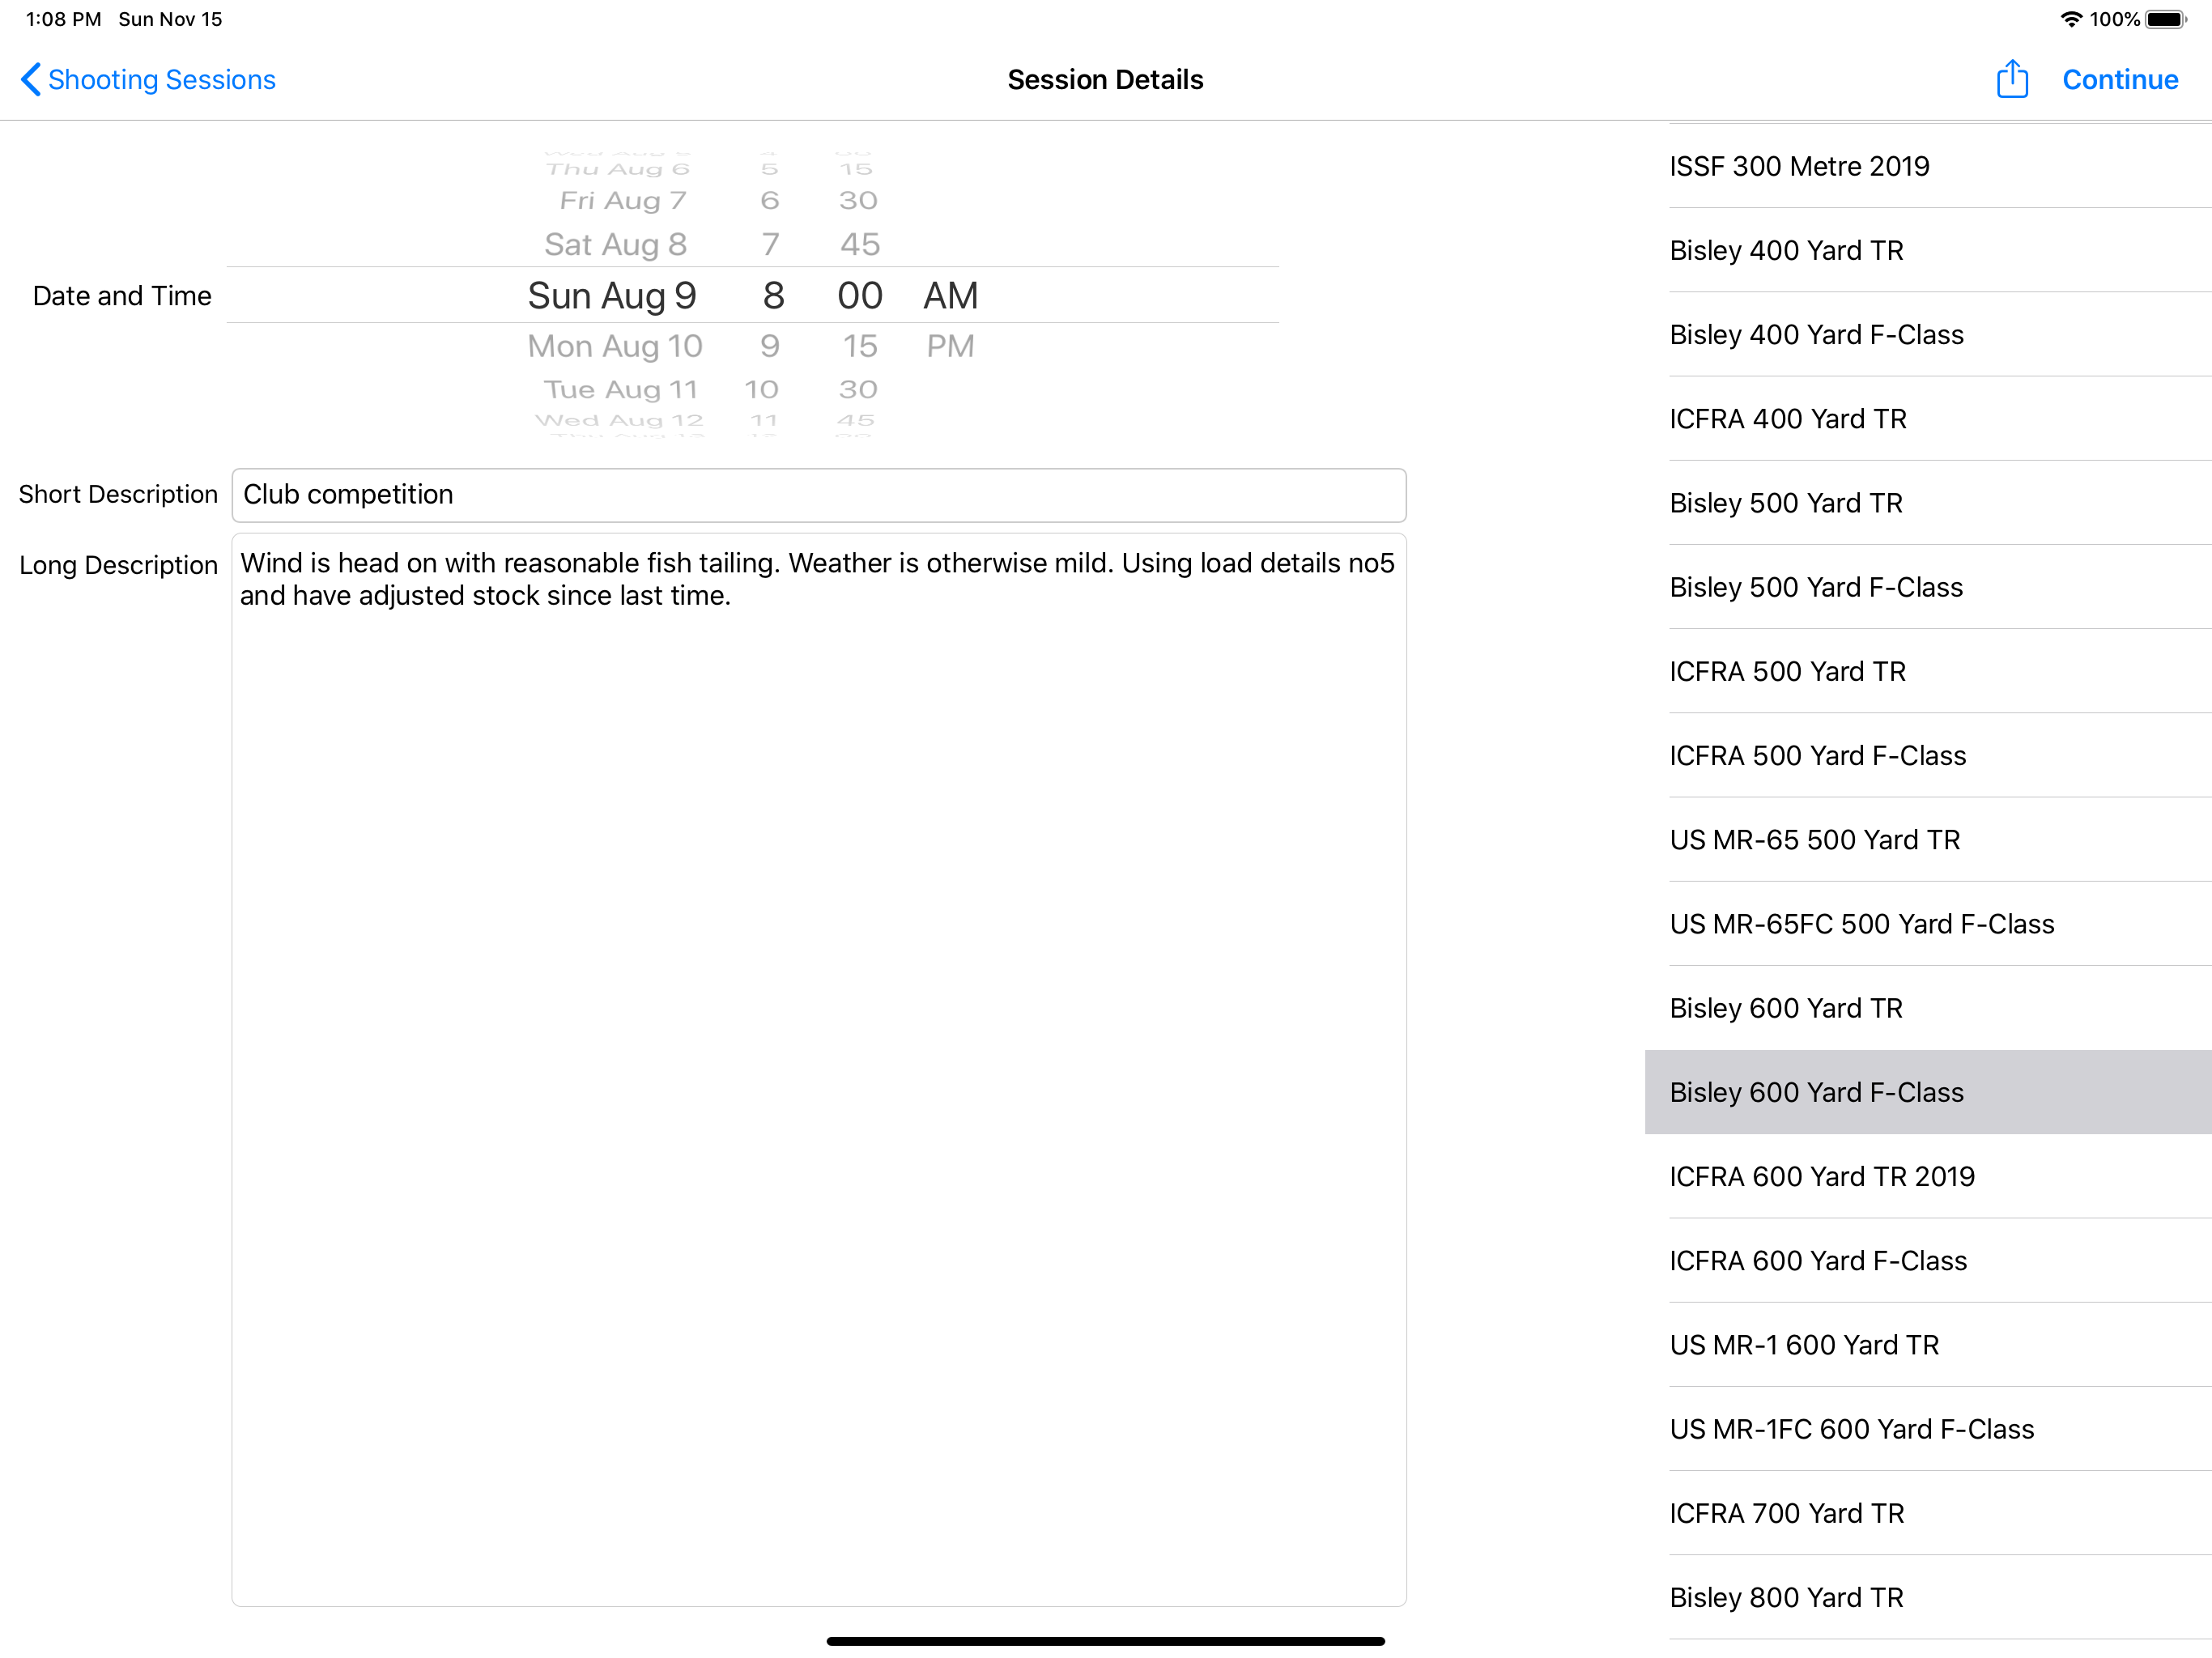
Here you can set the date and time of the session, the target face and distance as well as two different text fields to use how you want.
Tapping 'Continue' in the top right will take you to the main plotting screen.
The 'share' button (top right next to '+' button) allows you to export the data for just this selected session (csv for excel).
Plotting
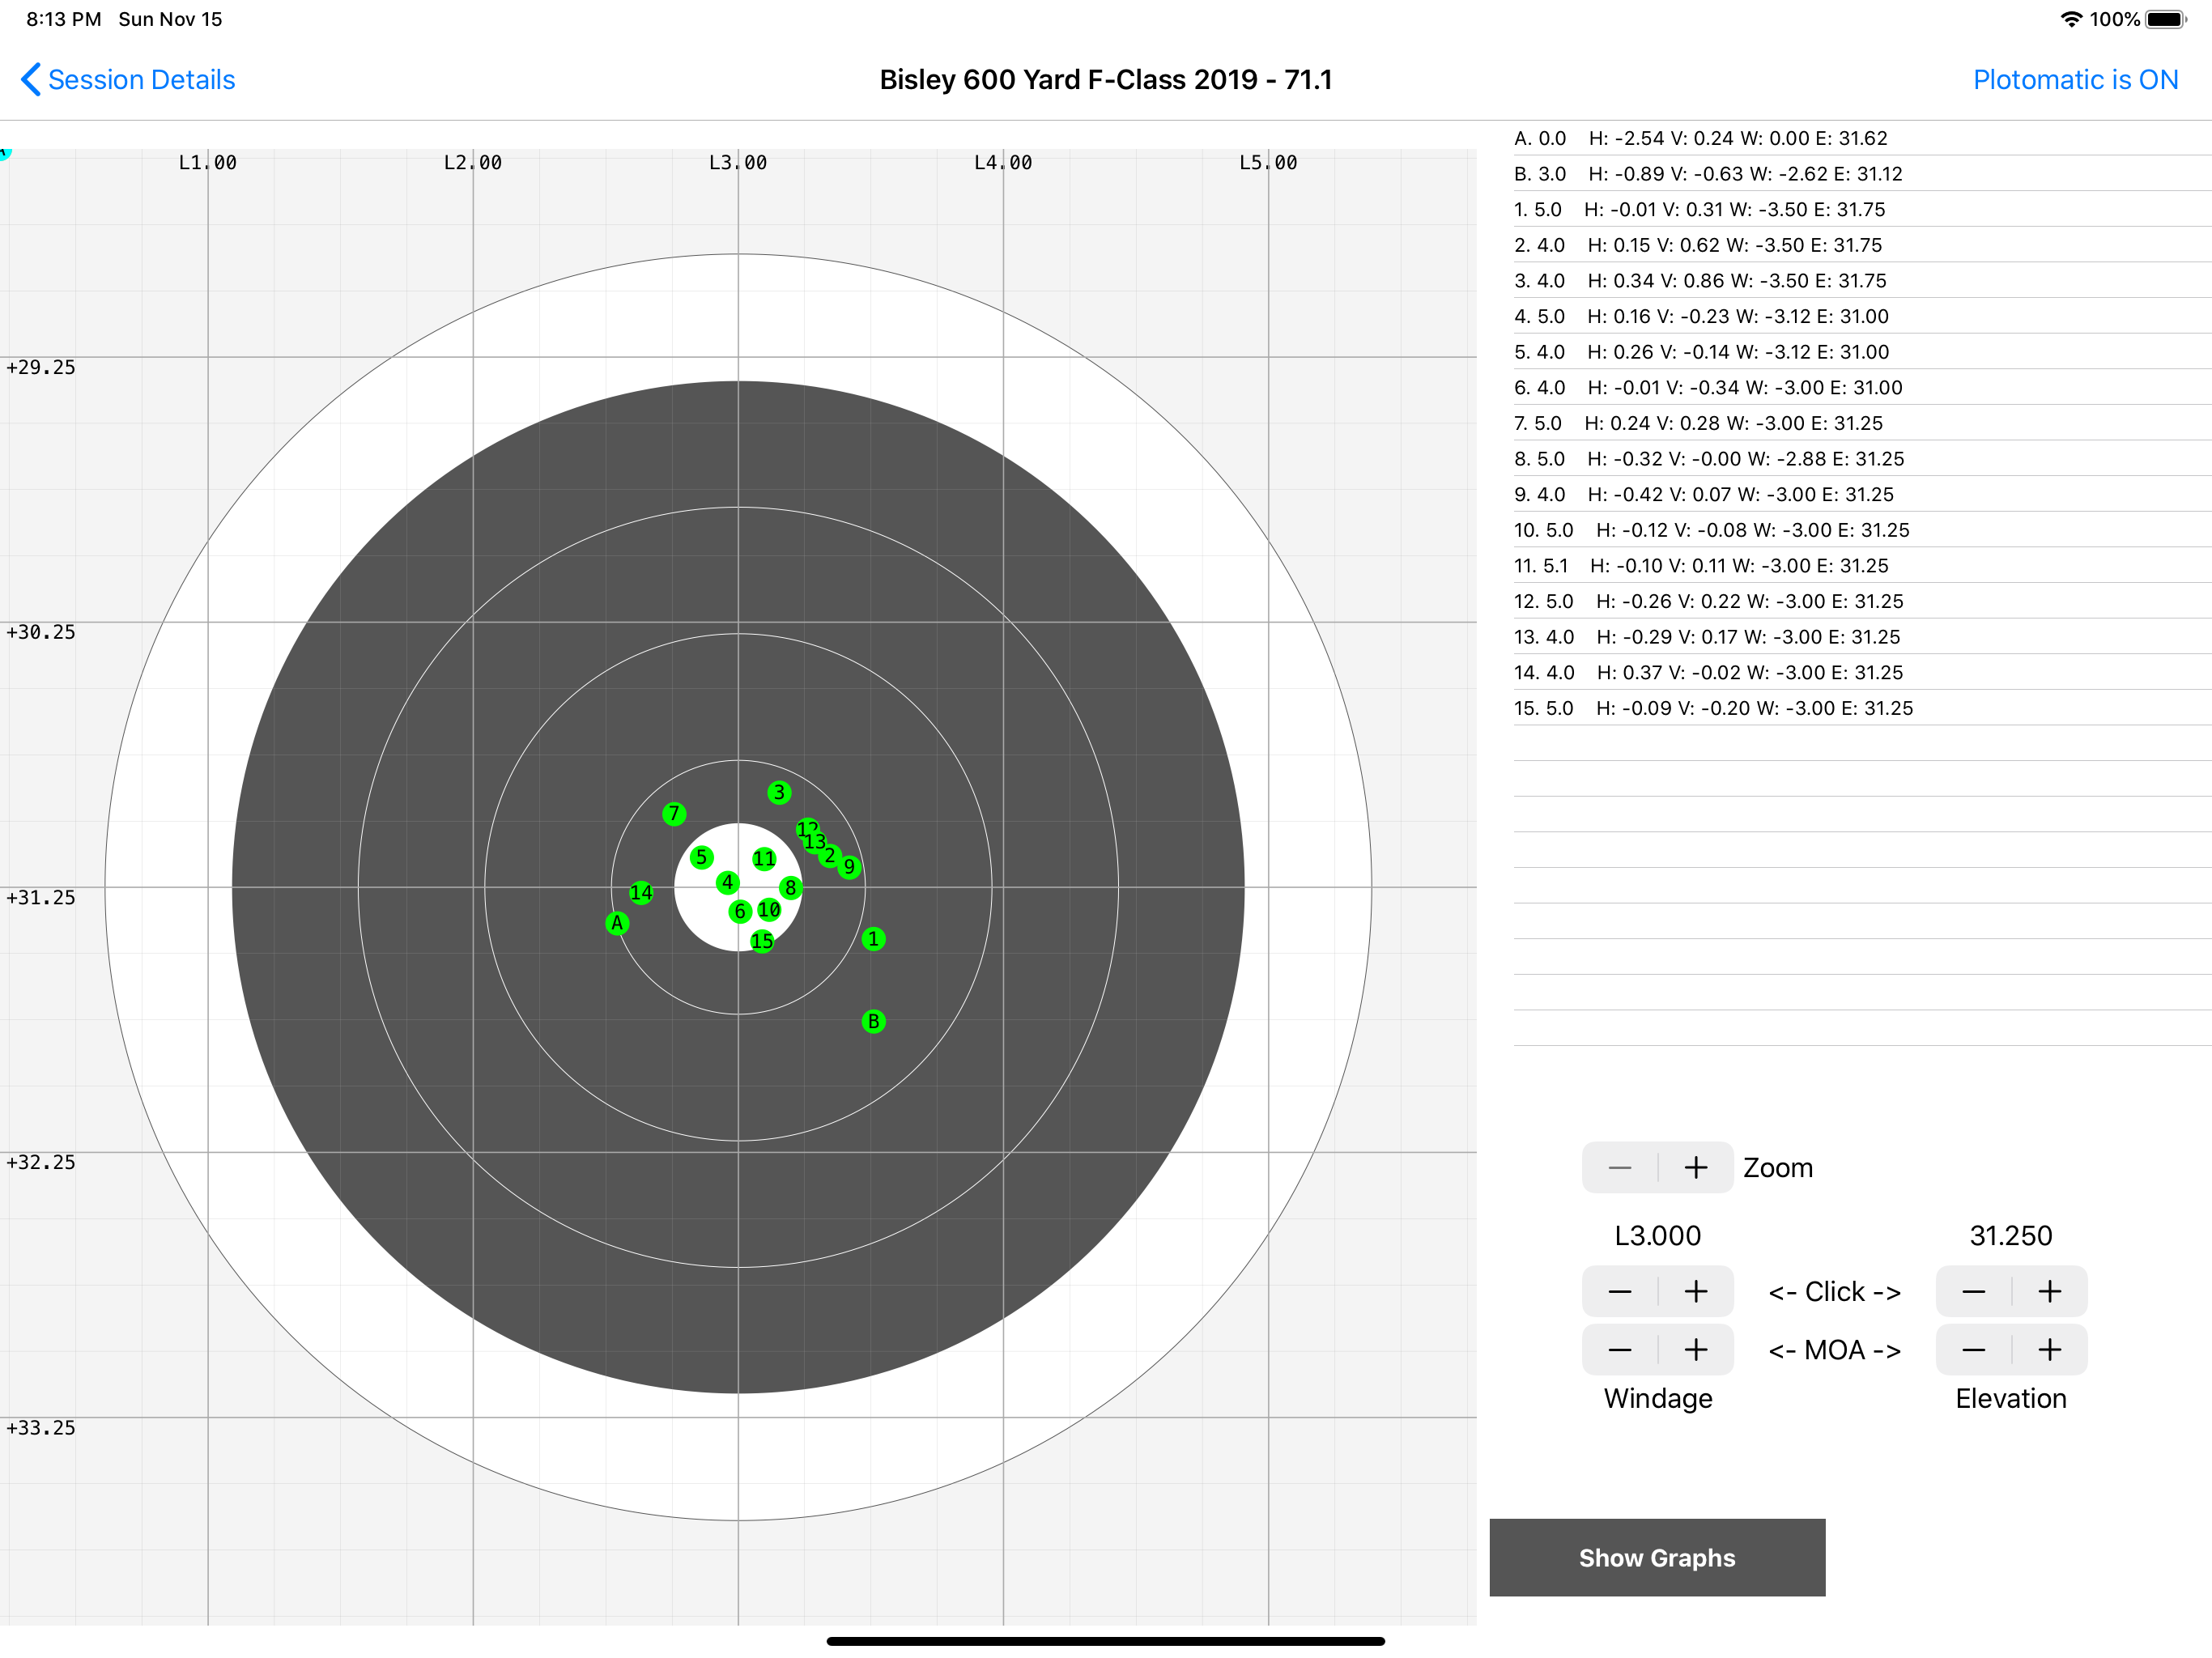
Here is the main plotting screen. On the left is the target, on the right are the controls and shot details.
Plotomatic mode can be toggled on/off using the button in the top right.
Target can be zoomed with the Zoom button on the right. Zoomed view can be scrolled using a dragging motion with finger on target
With plotomatic mode on, any changes to the windage or elevation will move the displayed shots on the target.
To get started you should first set your preferred zoom level on the target (note you can scroll on the zoomed target by holding and moving your finger around).

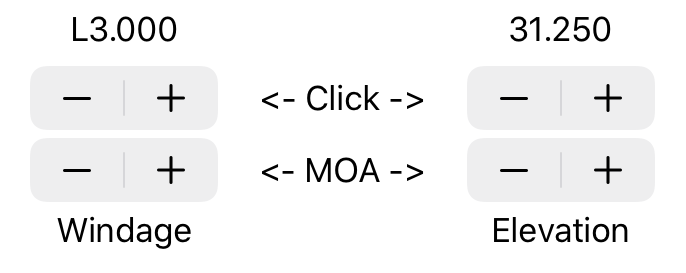
Next set you scope windage and elevation in the app to match those on your actual scope
The top stepper controls will change the setting by a single turret click (either 1/4 MOA or 1/8 MOA depending on the default you selected)
The bottom stepper controls will change the setting by 1 MOA
Now you're ready to plot your first shot
Your first tap on target will place a pale blue marker (with an 'A' inside) to represent where you aimed on target
Your second tap on target will place a yellow marker (with an 'I' inside) to represent where your shot impacted on target
If you tap again it will clear both points and add a new blue aim point to the target (and follow up tap will place new impact point)
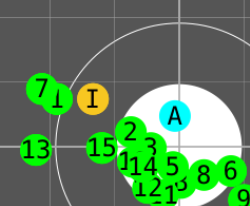
The score for the point of impact is displayed just below the table on the right (along with its MOA from the centre point). Handy to check against the score on target before you save

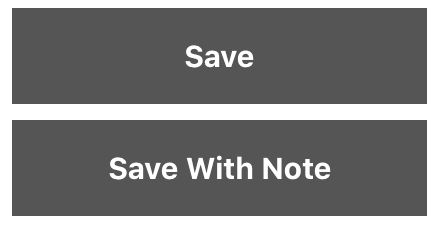
You can just save the shot, or save it with a note (if you pulled the shot or know you made a bad call)
At this point, with plotomatic mode on, any adjustments you make to the scope setting in app (which you should then adjust to match on your scope) will move the impact markers on the target
This will allow you to re-centre your group and visually see how the wind is effecting the group / forming patterns
Read Adam MacDonalds excellent article on plotting for an excellent explanation of why you might want to use this technique here

Handy Tips:
Graphs
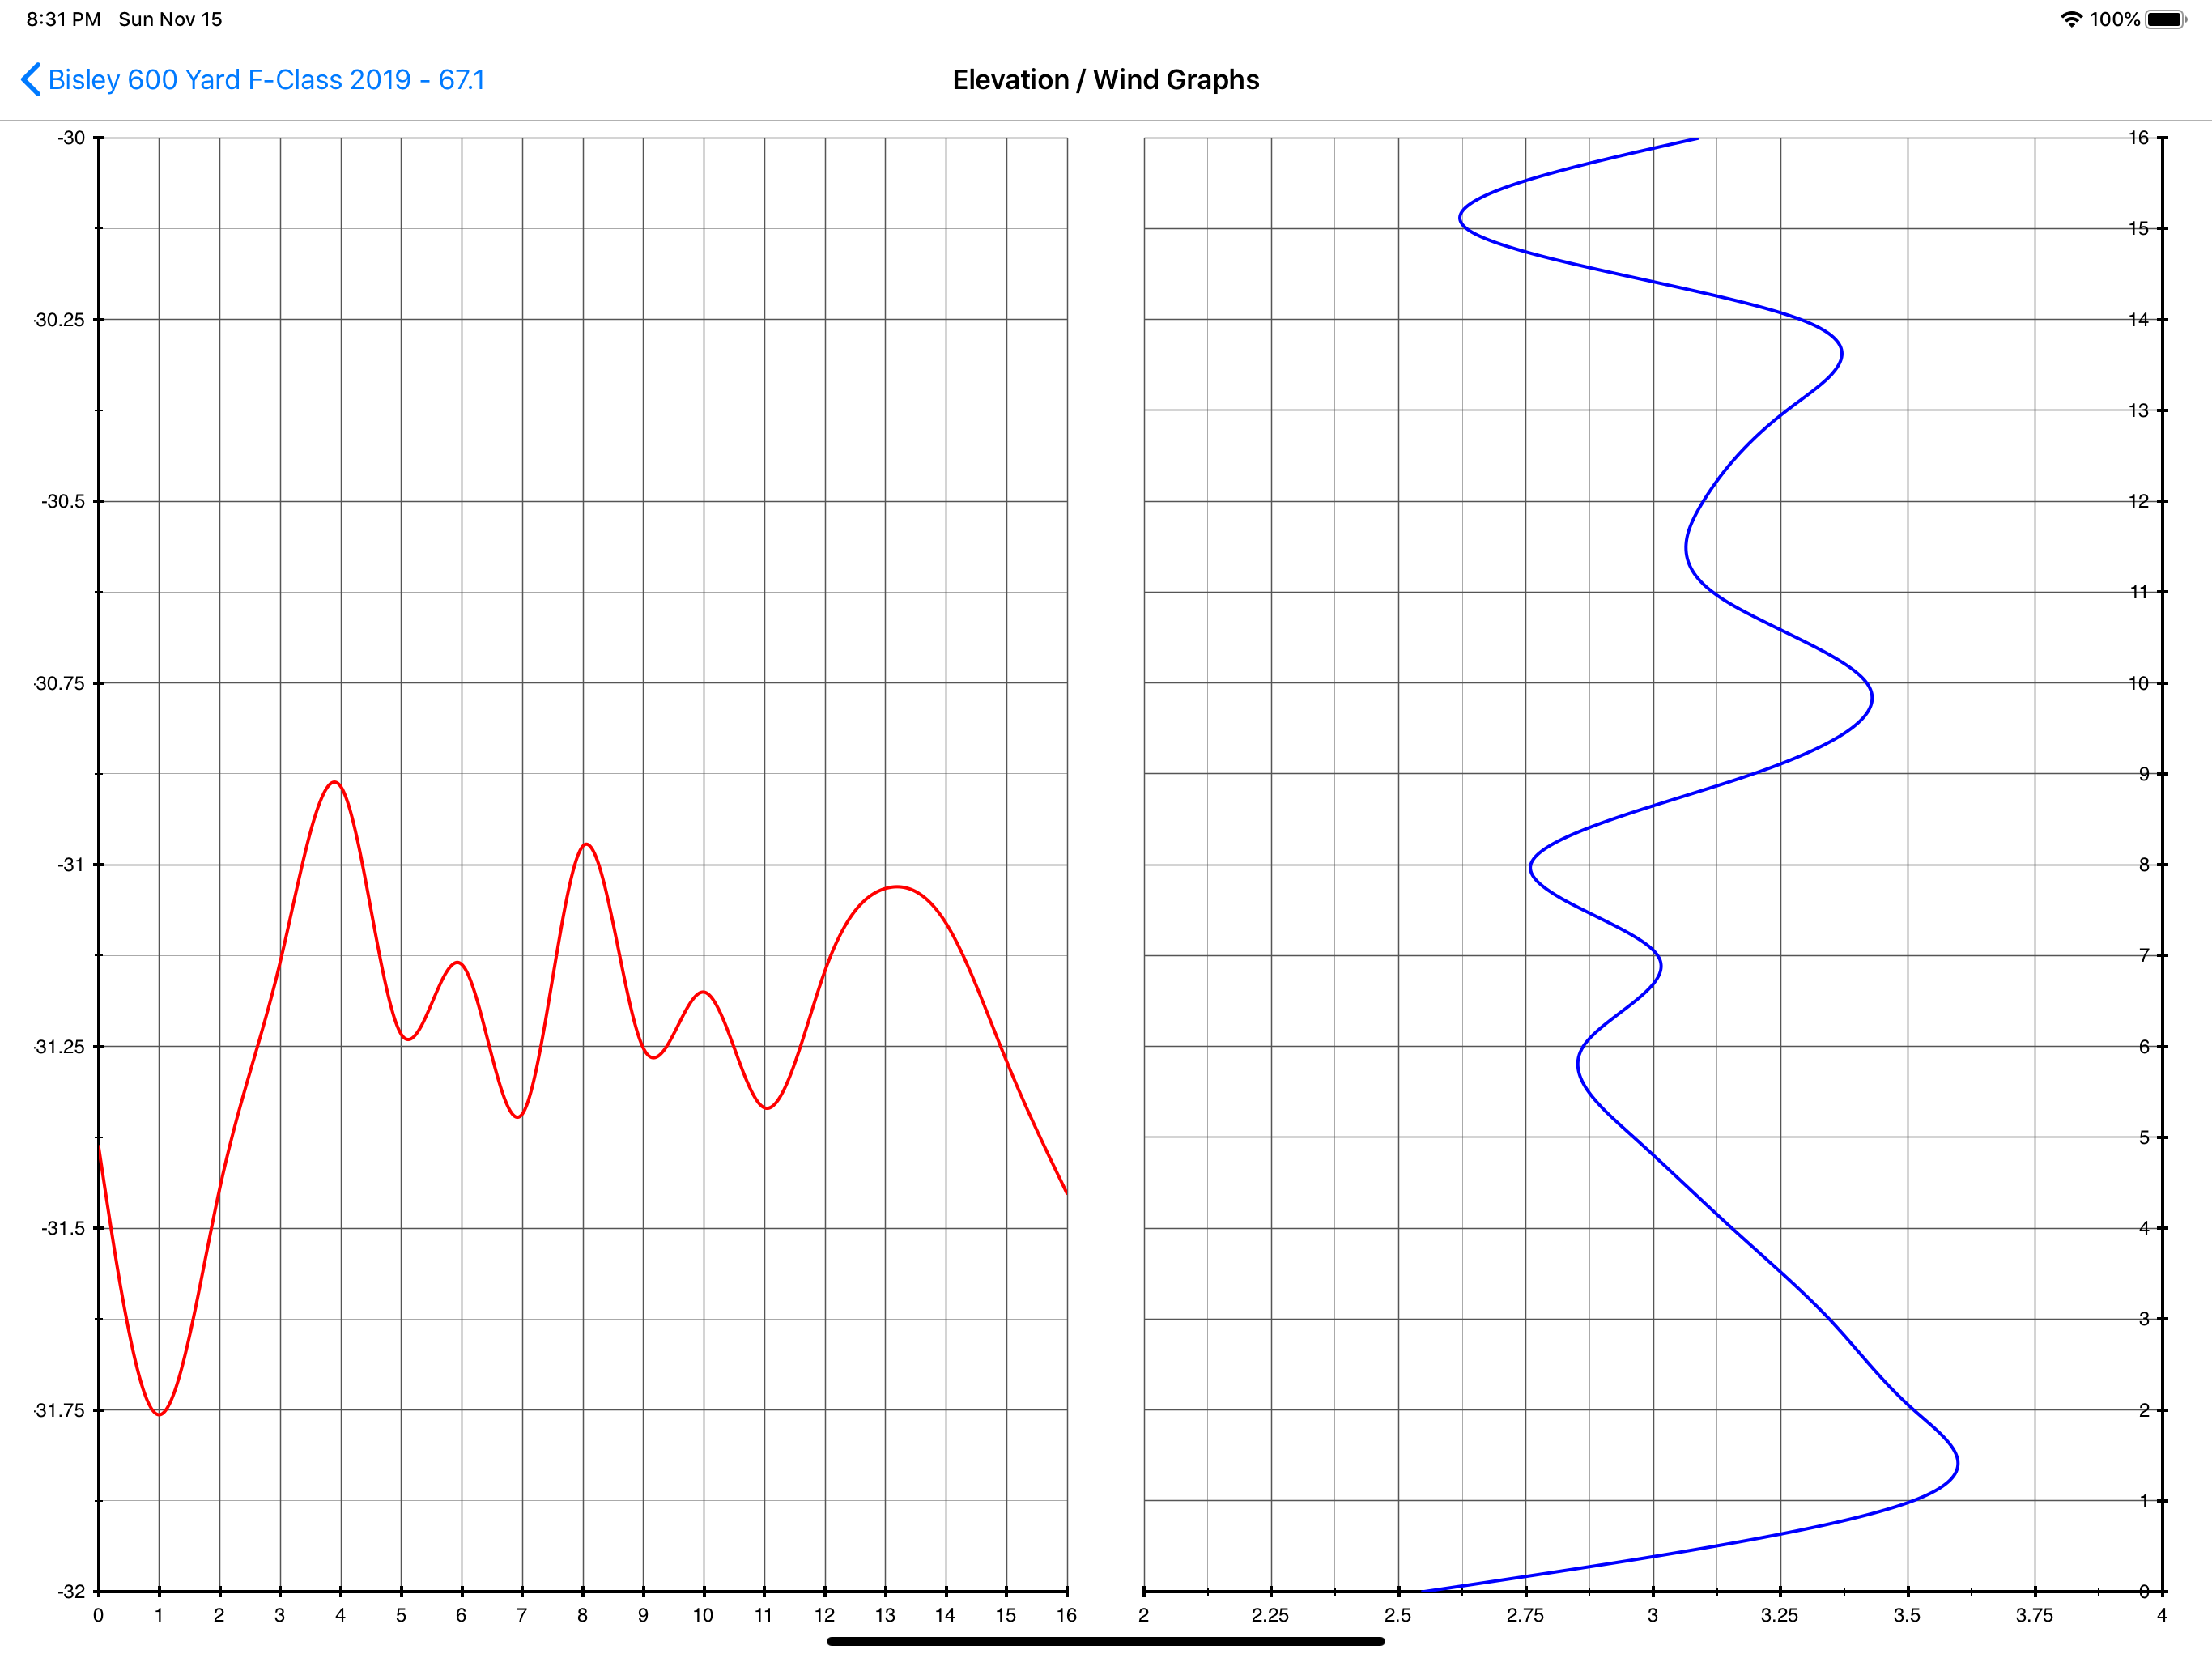
This screen shows you a simple graph of the wind and elevation MOA over the course of fire (it takes scope settings and aim point into account, so you see exactly what the changes in the conditions were).
Settings
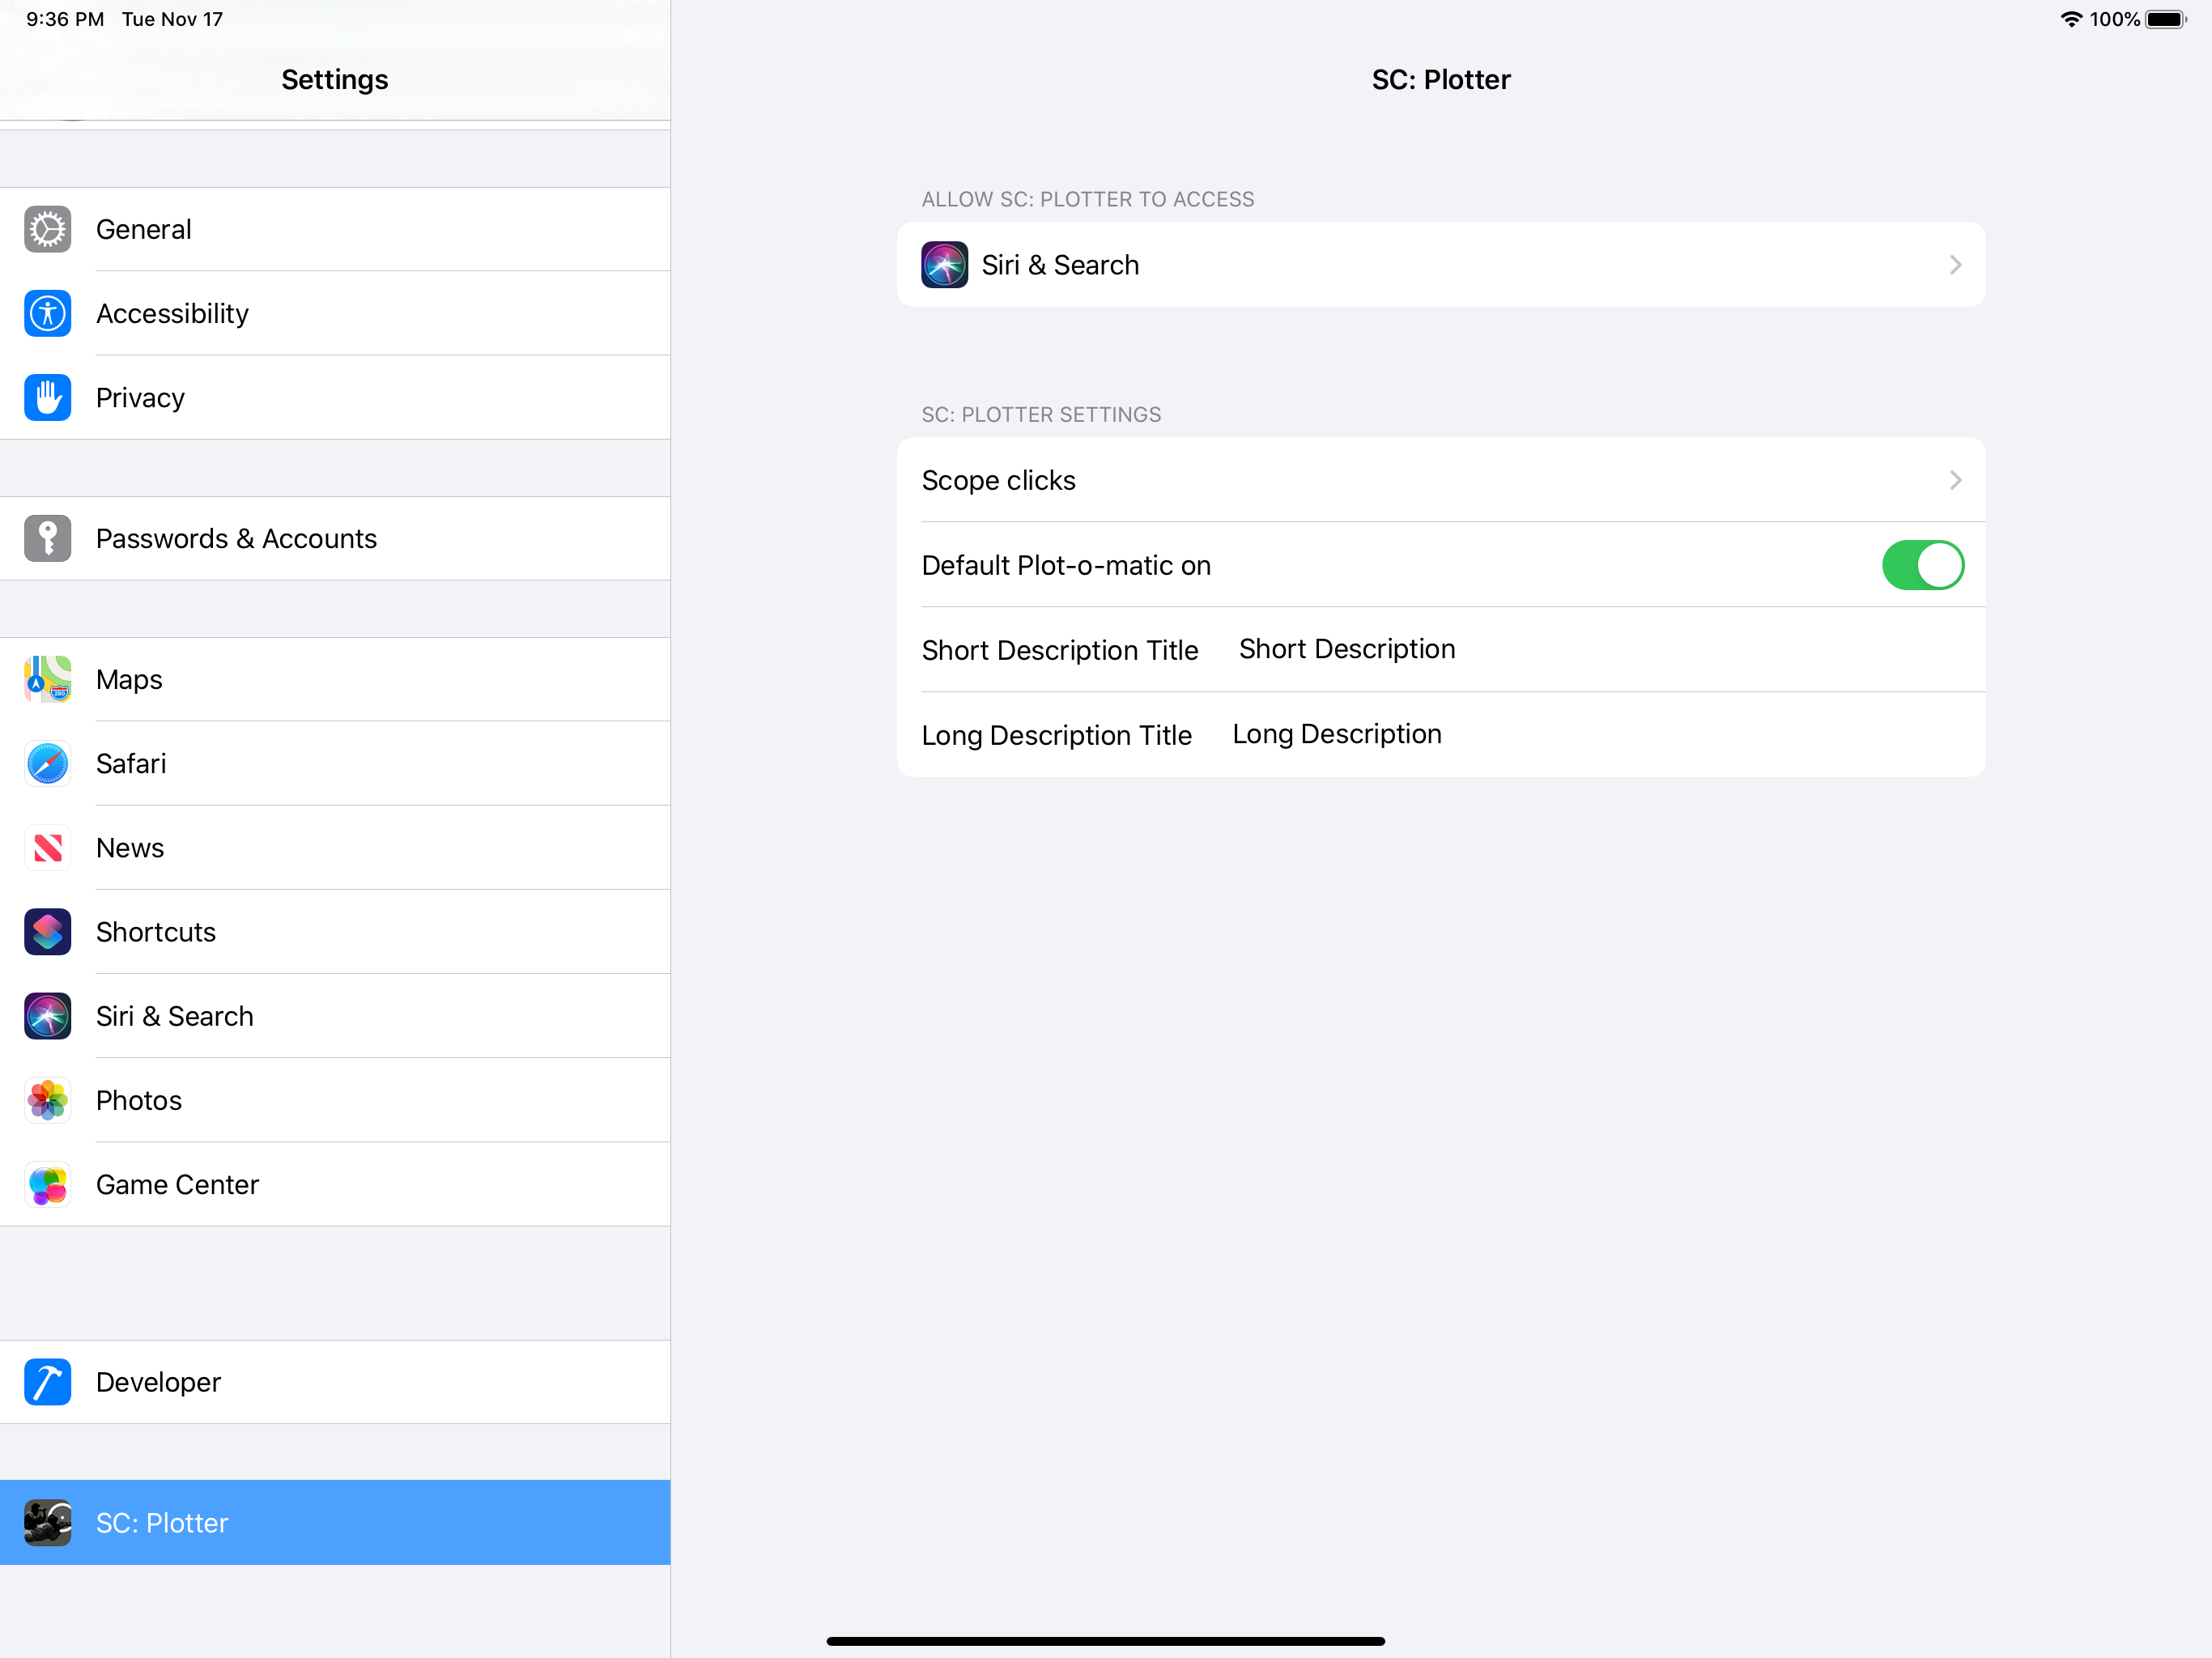
In the standard iOS setting you can switch your scope between 1/4 and 1/8 MOA clicks, set whether plotomatic mode is on by default, and set custom titles for the two text fields on the session info screen.
Check out our future plans
Click here to see our roadmap on trello - We've already got lots of plans - let us know more